We’ve got the answers you need regarding the number of roofing nails per square.
Whether you’re working with asphalt shingles, wood shingles, shakes, or even metal roofing, understanding the ideal nail count and spacing is crucial.
In this article, our skilled roofing professionals will break down the factors that affect the number of nails needed for each type of roofing material. Get ready to nail your roofing project with confidence!
Factors Affecting the Number of Roofing Nails
We must consider several factors affecting the number of roofing nails required for a square.
The first important factor is the proper nail length in roofing installations. Using nails that are too short can result in weak roof structures and potential damage during extreme weather conditions.
On the other hand, using nails that are too long can cause them to penetrate through the roofing material, leading to leaks and other issues.
Choosing the right nail length that provides sufficient grip and stability without compromising the roof’s integrity is crucial.
Additionally, avoiding common mistakes when nailing down roofing materials is essential. These mistakes include overdriving the nails, which can damage the shingles, and underdriving the nails, which can lead to loose or lifted shingles.
Understanding these factors and avoiding these mistakes can ensure a successful and durable roofing installation.
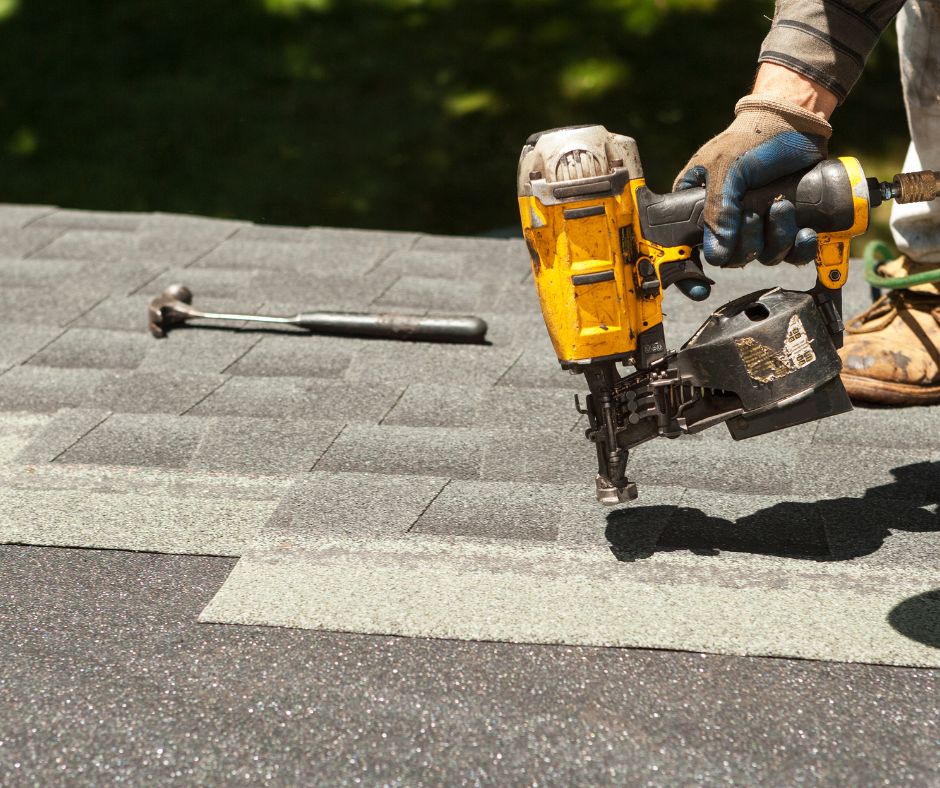
Recommended Nail Count for Asphalt Shingles
For asphalt shingles, we recommend using a minimum of four nails per square for proper installation.
Here are some key points to keep in mind when it comes to the recommended nail count for asphalt shingles:
1. Nail size: Using the right size for your shingles is essential. Commonly, roofing nails with a length of 1 ¼ inches are suitable for most asphalt shingles.
2. Proper placement: Nails should be placed correctly to ensure secure attachment. They should be driven through the shingle’s nailing strip, typically located about 1 inch above the bottom edge of the shingle.
3. Spacing: Nails should be spaced evenly across the shingle, usually around 6 inches apart. This helps to distribute the load and prevent potential lifting or buckling of the shingles.
4. Avoiding common nail mistakes: Some common nail mistakes include overdriving or underdriving nails, using the wrong size or type of nails, and placing nails too close to the edges of the shingles.
Ideal Nail Quantity for Wood Shingles and Shakes
When installing wood shingles and shakes, it is essential to determine the ideal number of nails per square for proper attachment and durability.
For wood roofing materials, the recommended nail length is typically 1 ½ to 2 inches. Adequate nail placement is crucial to ensure the shingles or shakes are securely fastened to the roof.
The nails should be driven through the thickest part of the material, avoiding the edges where splitting may occur.
It is recommended to use four nails per shingle or shake, with two nails placed along the top edge and two nails along the bottom edge.
This provides sufficient holding power while minimizing the risk of splitting.
By following these guidelines, you can ensure that your wood shingles and shakes are correctly attached and will withstand the test of time.
Understanding Nail Spacing for Metal Roofing
To ensure proper attachment and durability of metal roofing, it is essential to understand the appropriate spacing of nails.
Here are four key points to consider when it comes to nail spacing for metal roofing:
1. Importance of proper nail spacing for metal roofing longevity: Properly spaced nails distribute the weight and stress evenly across the panels, preventing damage and ensuring the longevity of the roof.
2. Common mistakes when nailing metal roofing panels: Avoid overdriving or underdriving nails, as this can compromise the roof’s integrity. Additionally, make sure to use the correct type and length of nails specified by the manufacturer.
3. Nail spacing requirements: The typical recommendation is to space nails approximately 12 inches apart along the seams and 24 inches apart in the field. However, always refer to the manufacturer’s guidelines for the specific metal roofing product being used.
4. Using a nail gun: When using a nail gun, it is crucial to adjust the depth setting properly to avoid overdriving or underdriving the nails. Regularly inspect the roof to ensure the nails are properly seated and not protruding, which can cause leaks and damage.
Nail Requirements for Other Roofing Materials
As we continue discussing nail spacing for roofing, let’s now explore the nail requirements for other roofing materials.
When it comes to clay tiles, it is essential to secure them correctly to ensure their longevity and stability.
The recommended nail count for clay tiles is typically around three nails per tile. This ensures that the tiles are securely fastened to the roof and withstand the elements.
Additionally, a similar approach is taken when it comes to slate roofing. The recommended nail count for slate roofing is also around three nails per slate.
This ensures that the slates are firmly attached and can resist wind uplift.
Following these recommended nail counts ensures that your clay tile or slate roof is installed correctly and will provide long-lasting protection for your home.