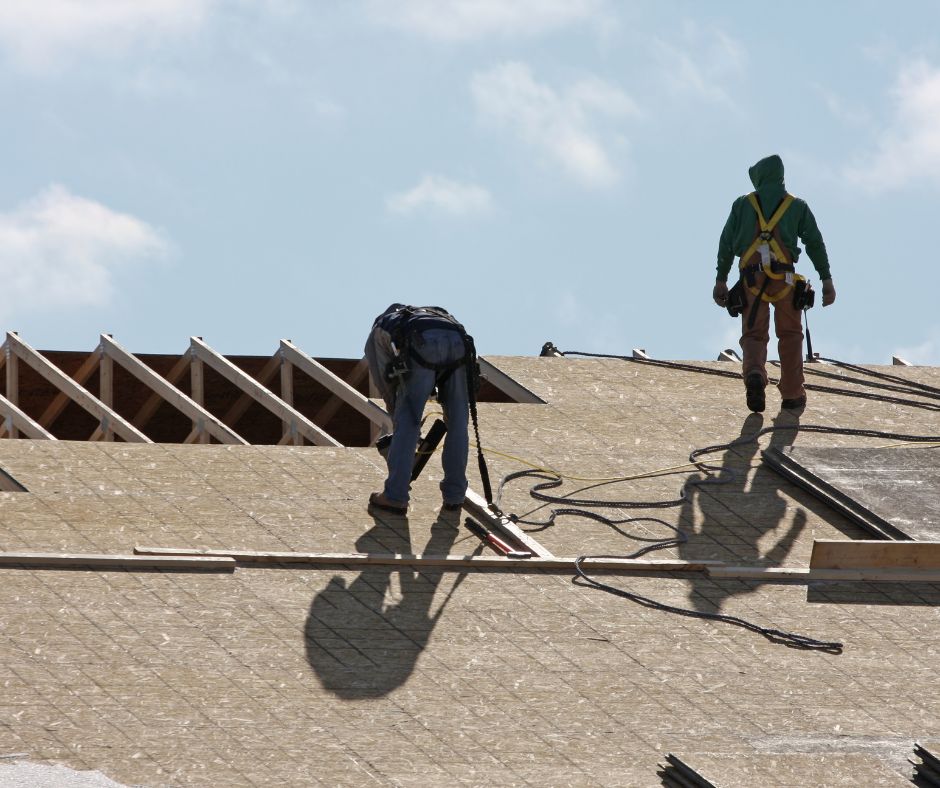
Are you ready to tackle the task of re-roofing your house? We’ve got you covered!
In this step-by-step guide, our proficient roofers show you how to assess your roof’s condition, gather the necessary tools and materials, remove the old roofing materials, and install the new ones.
Plus, we’ll provide some finishing touches and maintenance tips to ensure your new roof stands the test of time. Let’s get started on this home improvement project together!
Assessing Your Roof’s Condition
First, we must thoroughly inspect our roof to determine its current condition. This step is crucial in roof repair as it helps us identify any issues that need to be addressed.
While some homeowners may assess their roofs independently, hiring professionals for an accurate evaluation is highly recommended.
Professionals have the expertise and experience to identify hidden damage and potential problems that may not be visible to the untrained eye.
They will thoroughly examine the roof for signs of leaks, missing or damaged shingles, deteriorated flashing, and other issues.
Hiring professionals ensures that all potential problems are identified, allowing for a comprehensive and effective roof repair plan to be developed.
Gathering the Necessary Tools and Materials
Now that we have assessed our roof’s condition, let’s gather the necessary tools and materials.
Before starting any roofing project, it is crucial to have the right tools and materials on hand. You will need a hammer, pry bar, roofing nail gun, utility knife, tape measure, chalk line, and ladder.
Additionally, you will need safety equipment such as gloves, goggles, and a harness. As for materials, you will need roofing shingles, underlayment, roofing nails, flashing, and sealant.
Estimating these items’ costs beforehand ensures you stay within budget. Research different suppliers and compare prices to find the best deals.
Gathering all the necessary tools and materials before starting the project can ensure a smoother and more efficient roofing process.
Removing the Old Roofing Materials
After gathering the necessary tools and materials, we can proceed to the next step in re-roofing a house: removing the old roofing materials.
Before starting this task, it is crucial to prioritize roofing safety. Ensure that you have a sturdy ladder, safety harness, and non-slip shoes.
Begin by removing any loose shingles or tiles using a pry bar.
Next, carefully remove the nails or screws holding the roofing materials in place.
Dispose of the old roofing materials responsibly by checking local regulations for proper disposal methods. You may need to rent a dumpster or contact a waste management company for assistance.
Remember to wear protective gloves and eyewear during this process to avoid injury.
Installing the New Roofing Materials
We will gather the necessary supplies and prepare the roof surface to begin installing the new roofing materials.
Here are the steps to follow:
1. Remove any debris or old roofing materials from the roof surface. Use a broom or rake to clear away any loose dirt or leaves.
2. Inspect the roof for any damage or weak spots. Repair any areas that are damaged or compromised before proceeding with the installation.
3. Apply a layer of waterproofing material to the roof surface. This could be a waterproof membrane or a layer of tar paper. Ensure that the material is applied evenly and covers the entire roof surface.
Finishing Touches and Maintenance Tips
Let’s complete the re-roofing process by adding the finishing touches and sharing some helpful maintenance tips.
After installing the new roofing materials, it’s essential to touch up any paint that may have been damaged during the process.
Check for areas where the paint has chipped or peeled, and apply a fresh coat to ensure a seamless finish.
Additionally, don’t forget about the gutters. Clean them regularly to prevent clogs and ensure proper drainage.
Remove any debris that may have accumulated, such as leaves, branches, or dirt. This will help prevent water damage to your newly installed roof and maintain its longevity.
By paying attention to these finishing touches and performing regular maintenance, you can extend the life of your roof and keep it looking its best.

